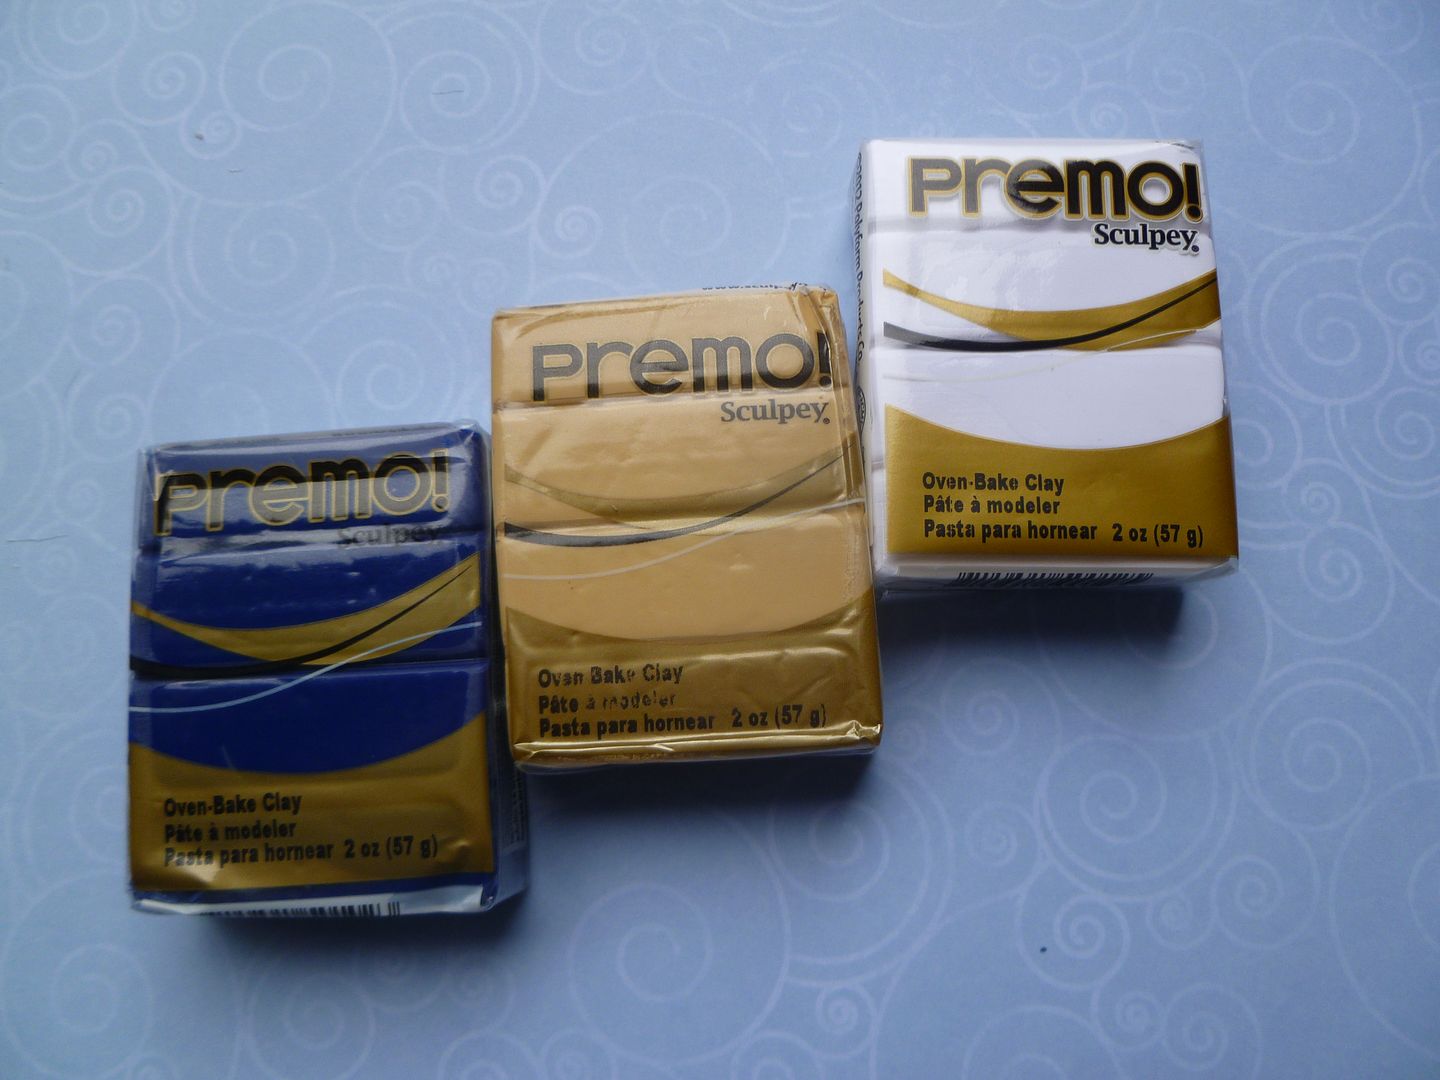

Let's start off with a simple two color cane. I'm using Premo for this one, since it's a little faster to condition and I'm feeling a wee bit impatient. I'm using Navy Blue and an ecru/white mix. Contrast is very important with this pattern (at least when it comes to polymer clay canes). I always use a very light color or white for one of the colors...the other color can be anything (if you don't use white, make sure it looks good with the light color that you're using).
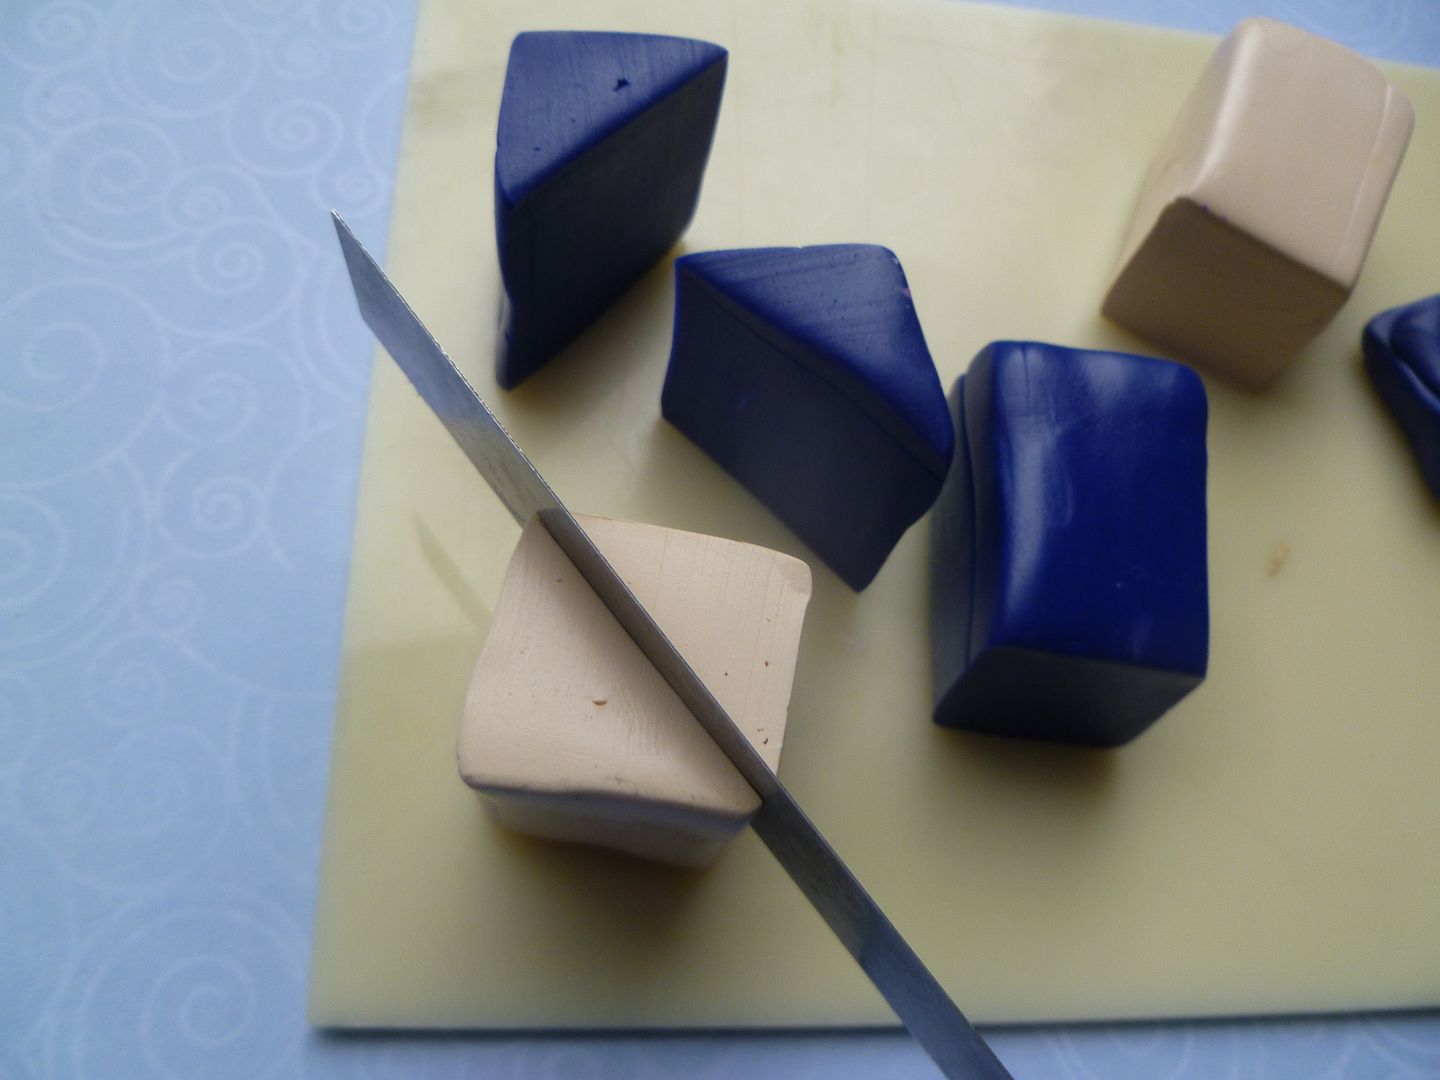
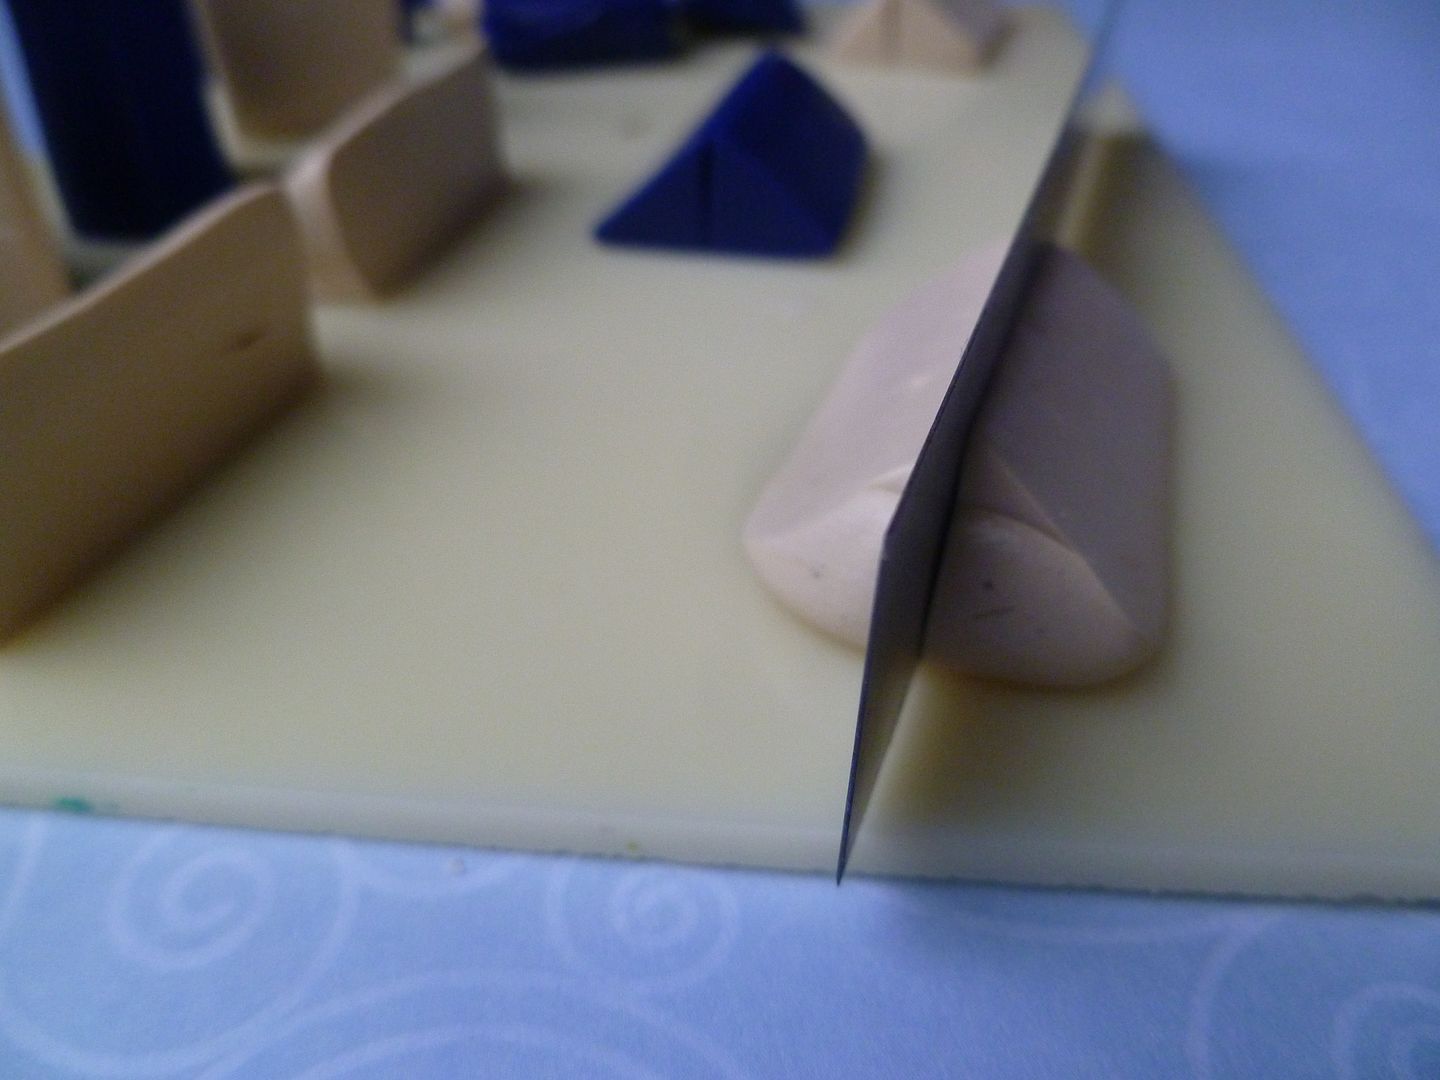
Condition the clay/mix your colors and then form each color into two equal square logs. I usually make them about 3/4 of an inch to an inch square and 1 1/2 inches to two inches long (depends on how much clay I'm using). If you're comfortable slicing down through a longer, skinner log, that's fine--I'm pretty klutzy. Take each log and stand it on it's end. Slice down through each log on the diagonal (a fresh, sharp blade makes this much easier). Try to make it even (I'm notoriously bad at it--that's why I use shorter, fatter logs).
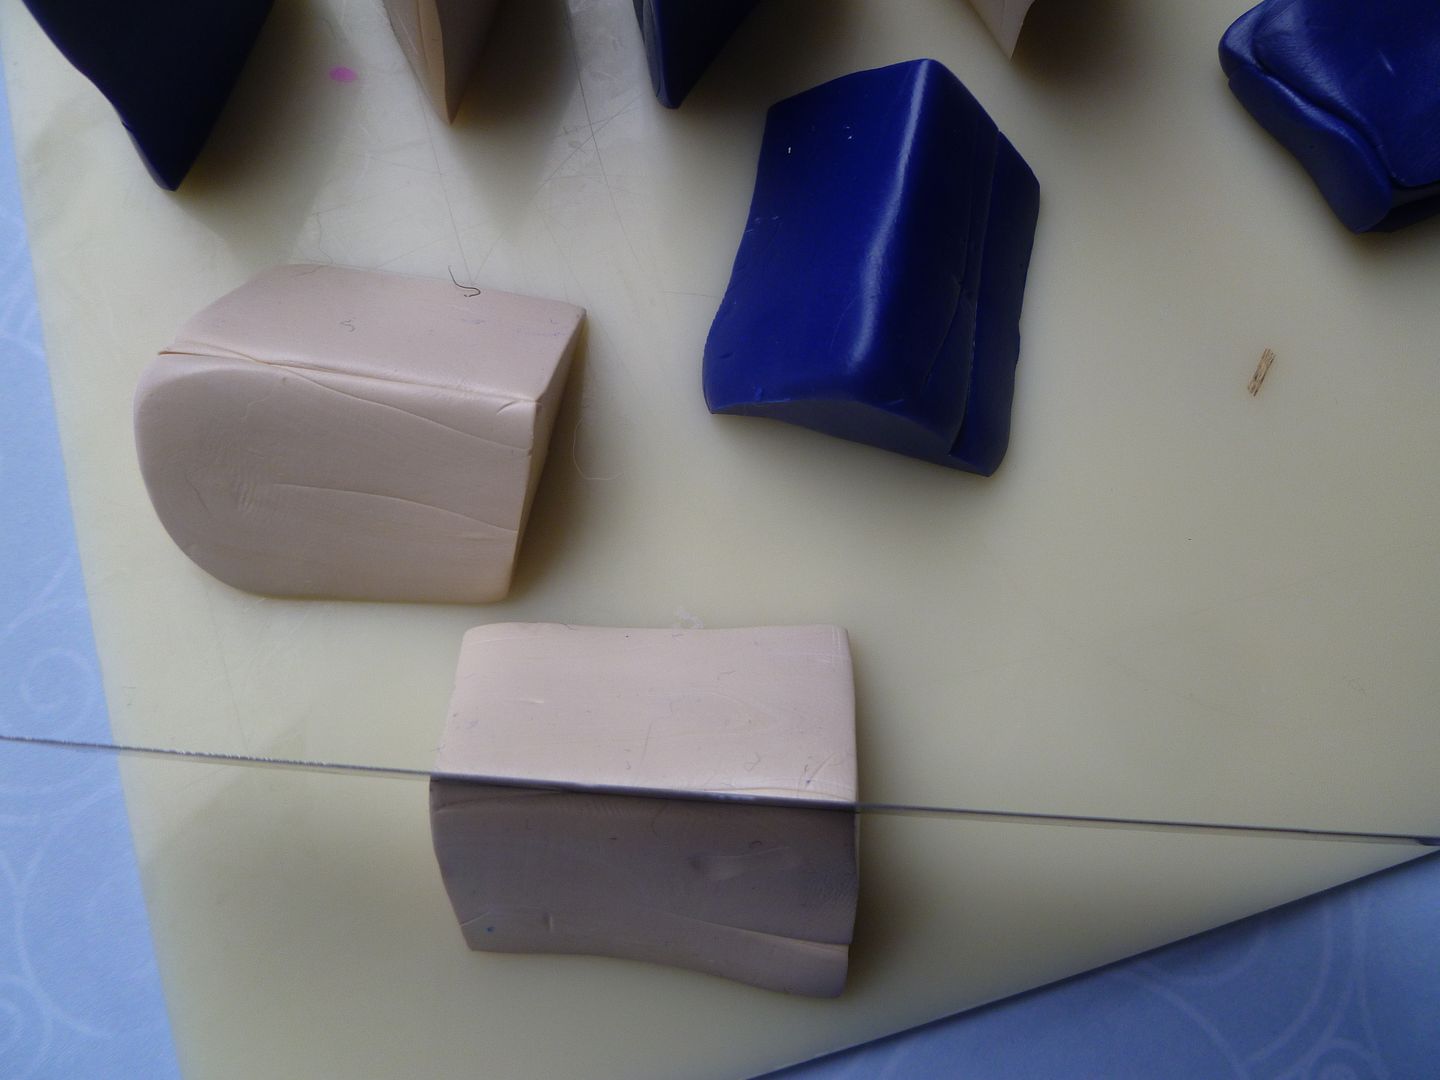

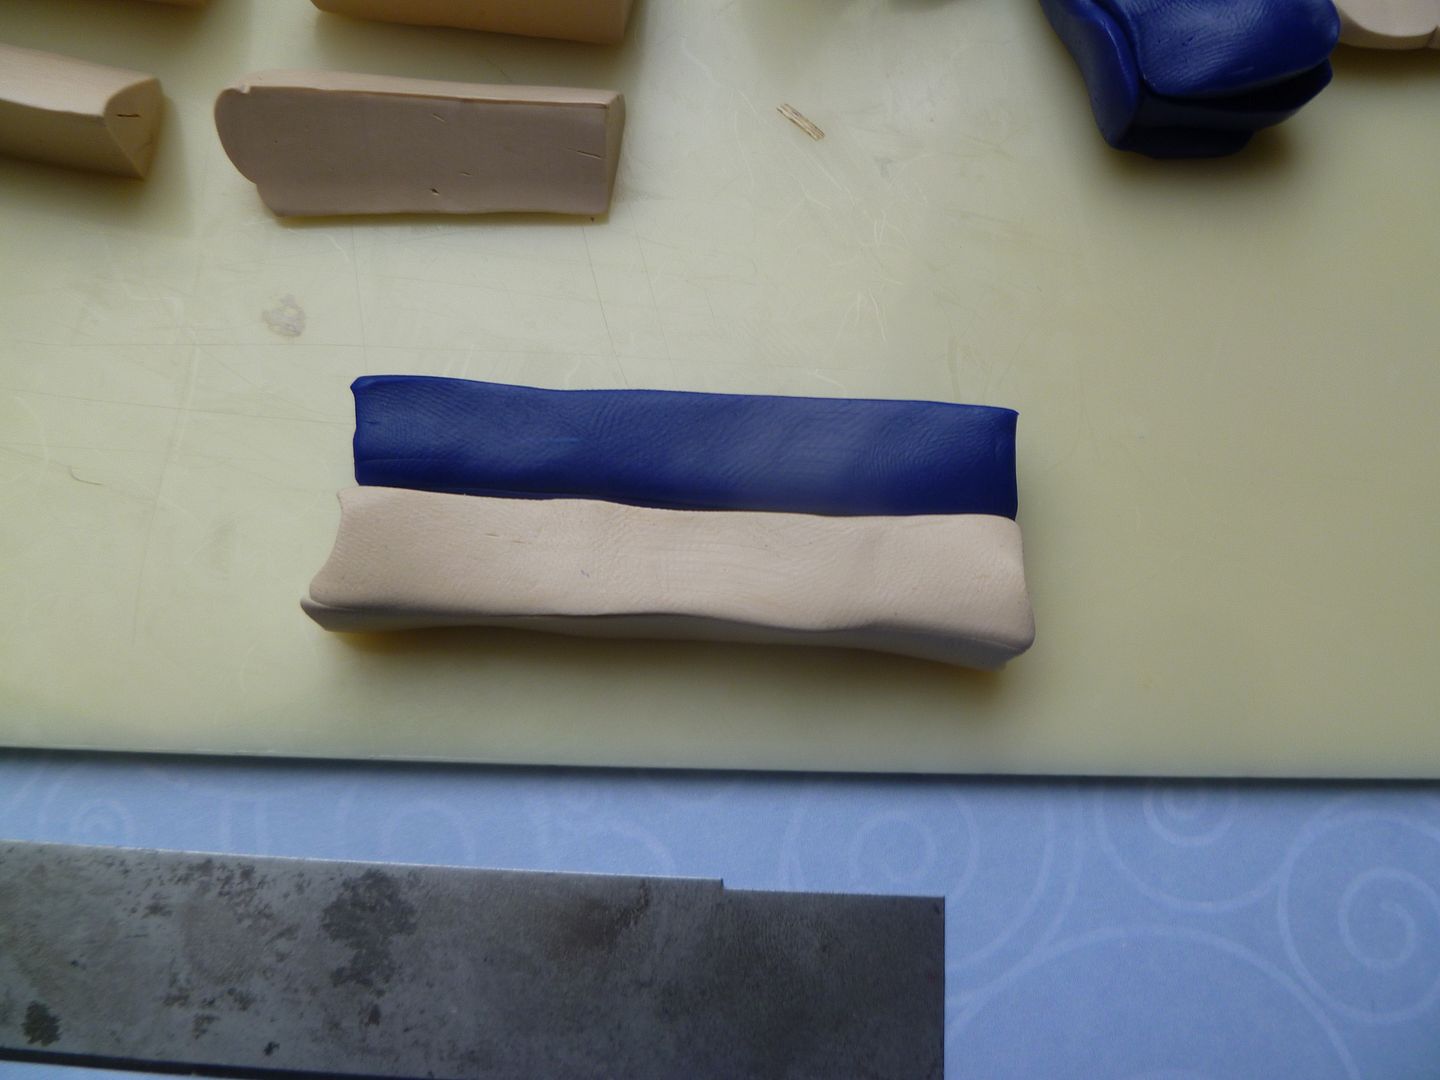
Again, set one triangle aside. Take the other one and cut it half crosswise. Put the two halves together, large sides touching each other, making a square log.
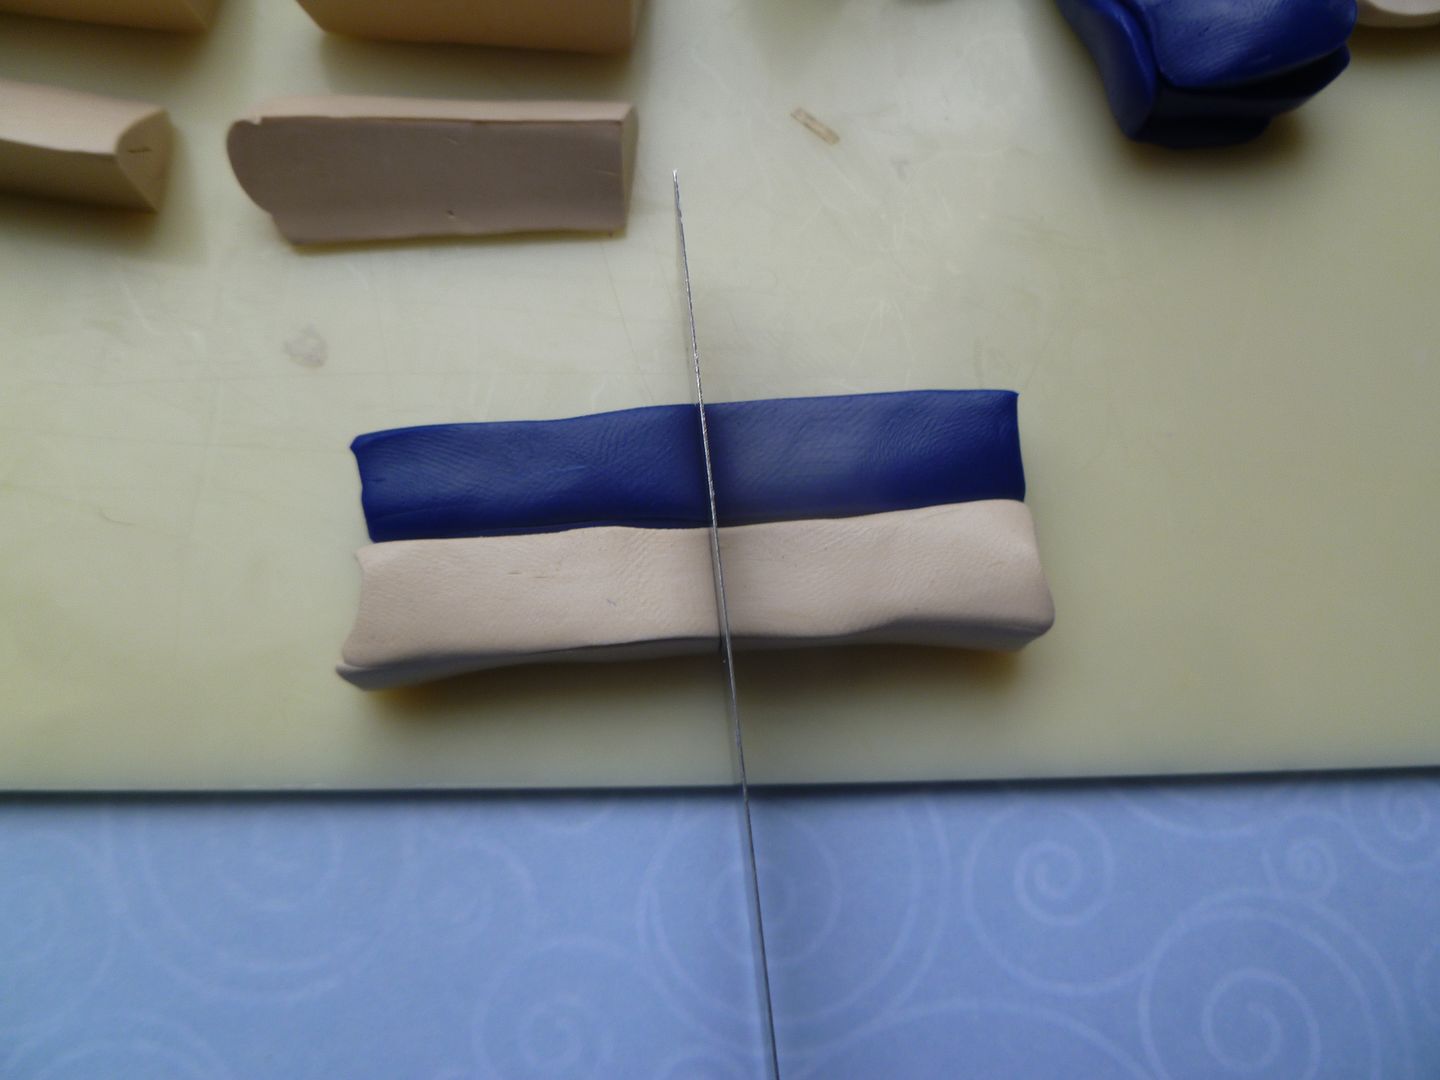
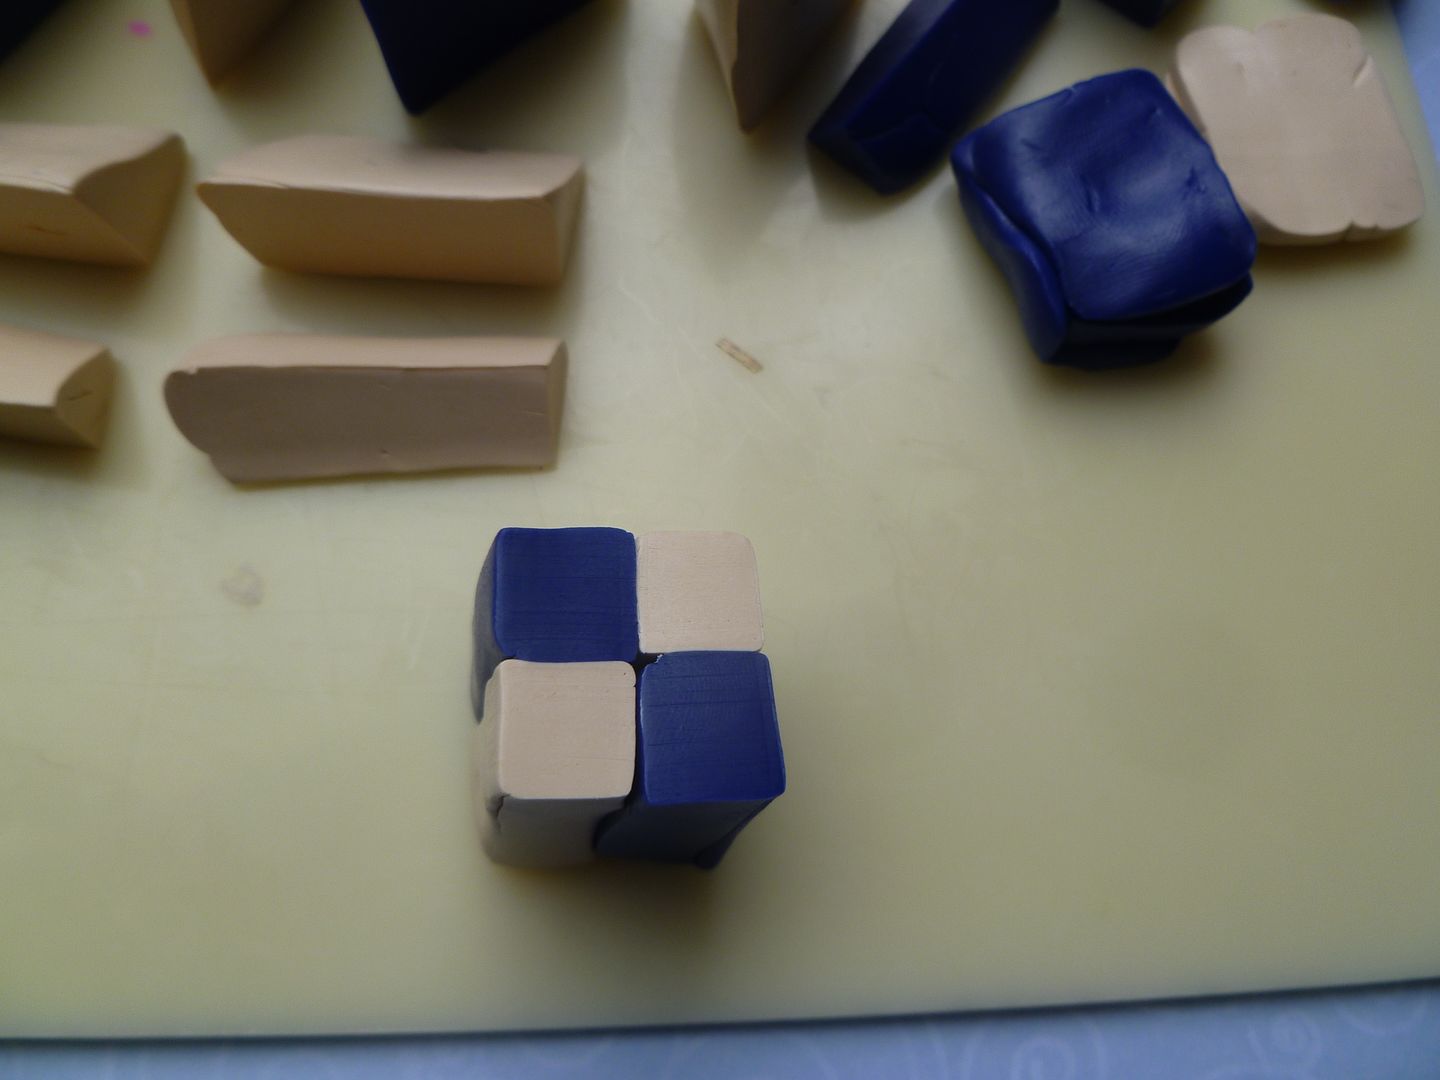
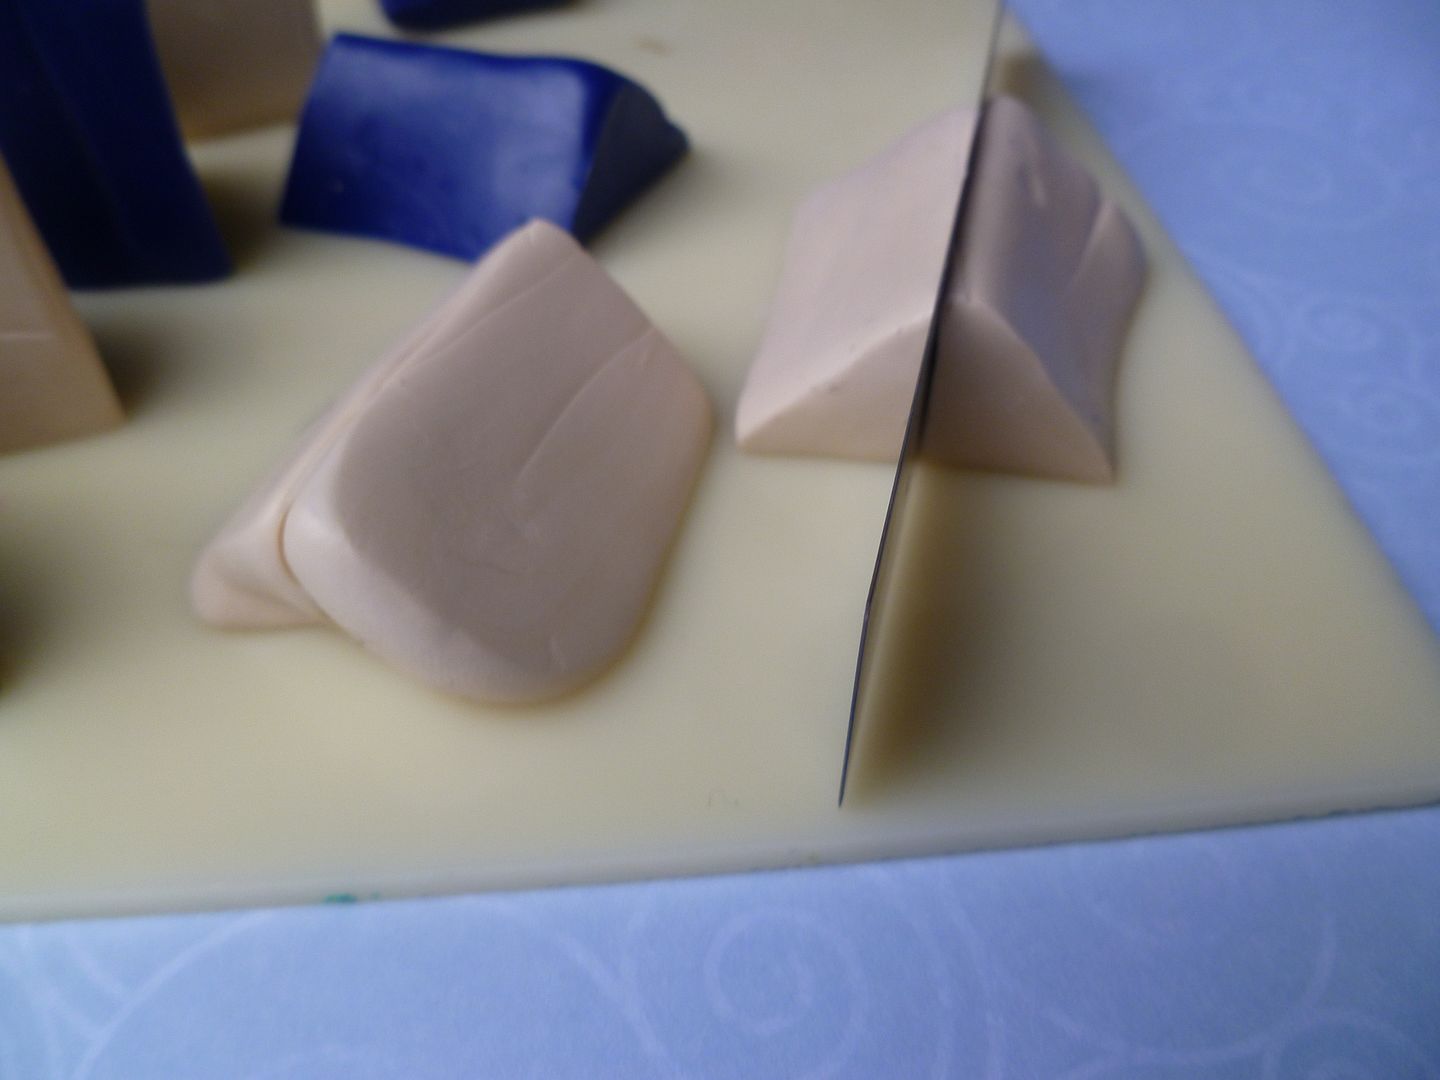
Lay the square logs next to each other and press together. Cut the resulting rectangle log in half crosswise. Flip one cane and set it next to the other, forming a square checkerboard cane.
Okay, that's more than enough pictures for one post. I'll put up another one in the next day or two, showing how to assemble these components into the base cane.
Stay tuned....
No comments:
Post a Comment